
Every concrete floor moves. As it cures and then works through daily changes in temperature and load, the concrete shrinks, expands and settles by small amounts. Joints are the planned lines that give this movement somewhere to go. Formed correctly, they keep a floor flat, sound and crack free for decades. Chosen poorly, through the wrong type of joint or spacing that is too generous, and the floor relieves its own stresses as random cracks that are difficult and costly to put right.
This guide explains the main types of concrete floor joints, how spacing is decided, and why joint design sits at the heart of crack prevention. It also shows why concrete saw cutting has become the controlled way to form the joints that keep an industrial floor performing.
Key takeaways
- Concrete moves as it cures and settles; joints decide where that movement is accommodated rather than preventing it.
- There are three main joint types: construction, contraction (control) and isolation, each with a distinct job.
- Spacing that is too generous, or joints cut too late, are the most common causes of uncontrolled cracking.
- Timely, correctly formed saw cut joints are the reliable way to keep a floor crack free.
Why concrete floors need joints
Concrete is strong in compression but weak in tension. As a fresh floor cures and dries, it shrinks. Because the concrete is restrained, by the sub-base beneath it, by its own weight and by any adjoining construction, this shrinkage generates tensile stress within the floor. When that stress exceeds the tensile strength of the concrete, it cracks. This is not a sign of a poor mix or bad workmanship. It is the material behaving exactly as the physics predicts.
Joints work by deciding in advance where that movement will be accommodated. A joint creates a deliberate line of weakness, or a planned break in the floor, so that the inevitable movement concentrates along a straight, chosen line rather than surfacing as an uncontrolled crack somewhere across the surface. Put simply, joints do not stop concrete from moving. They decide where the movement shows.
The main types of concrete floor joints
Three broad categories cover almost every joint on an industrial or commercial floor. A well designed floor uses them together, each doing the job it is suited to.
| Joint type | What it does | Where it is used |
|---|---|---|
| Construction (day) joint | Forms the planned edge where one pour meets the next, and transfers load across the join so both bays deflect together under traffic. | At the end of a day’s work or at bay edges, usually with dowels or a keyed profile to lock the panels together. |
| Contraction (control) joint | A deliberate line of weakness that encourages the concrete to crack in a straight, controlled position as it shrinks. | The most common joint on a large floor, almost always formed by saw cutting a groove into the surface soon after the pour. |
| Isolation / expansion joint | Separates the floor from fixed elements so it can move independently, preventing cracks radiating from a restrained point. | Around columns, walls, pits and machine bases, using a compressible filler to hold the gap. |
Contraction joints are where most of the day-to-day crack control happens, and where correct execution matters most. On modern floors they are cut rather than tooled, which is why saw cutting and joint design are so closely linked. Isolation and construction joints, meanwhile, depend heavily on how the floor is reinforced, which is where accurate steel fixing and dowel placement come into play.
Joint spacing: getting it right
Spacing is where many joint problems begin. If contraction joints are set too far apart, the floor cannot relieve its shrinkage stress at the joints alone, so it cracks somewhere in between. If panels are an awkward shape, stress concentrates at the corners and cracks form there instead. Good spacing keeps every part of the floor within reach of a joint before the concrete reaches its cracking point.
A widely used starting point is to space contraction joints at roughly 24 to 36 times the slab thickness. For a 150 mm floor that suggests joints in the region of 3.6 to 5.4 metres apart, though the right figure depends on the mix, the reinforcement and the friction between the floor and the sub-base. Alongside the spacing rule, a few principles apply on almost every floor:
- Keep panels as square as possible, ideally with a length-to-width ratio no greater than around 1.5 to 1.
- Line joints up with columns and align them across the floor so the pattern is continuous and predictable.
- Avoid re-entrant corners and narrow infill strips, which concentrate stress and invite cracking.
- Treat published ratios as guidance, not a specification; the final layout should be designed for the specific floor.
These figures apply to a conventionally jointed floor. Some industrial floors are designed as jointless or wide-bay pours using steel fibre reinforcement, which changes the spacing approach entirely. Reinforcement choice and joint layout are decided together, which is why they are best resolved during pre-construction planning rather than on the day of the pour.
Why joints matter: it comes down to crack control
The purpose of the whole joint system is to control where and how a floor cracks. When the layout is right and the joints are formed on time, movement collects neatly along the cut lines and the rest of the floor stays intact. When the layout is wrong, the consequences are visible and lasting: random cracks that run across panels, edges that spall under forklift wheels, and joints that open unevenly and let moisture into the concrete.
These are not cosmetic concerns. Cracked and spalled joints trap dirt, wear quickly under wheeled traffic and can shorten the working life of a floor. They also undermine the surface tolerances a floor was built to achieve, the same tolerances covered in our guide to concrete floor flatness standards. A floor that cracks off the joint line rarely stays flat where it matters, and remediation is far more expensive than getting the joints right at the outset.
Saw cutting: the controlled way to form joints
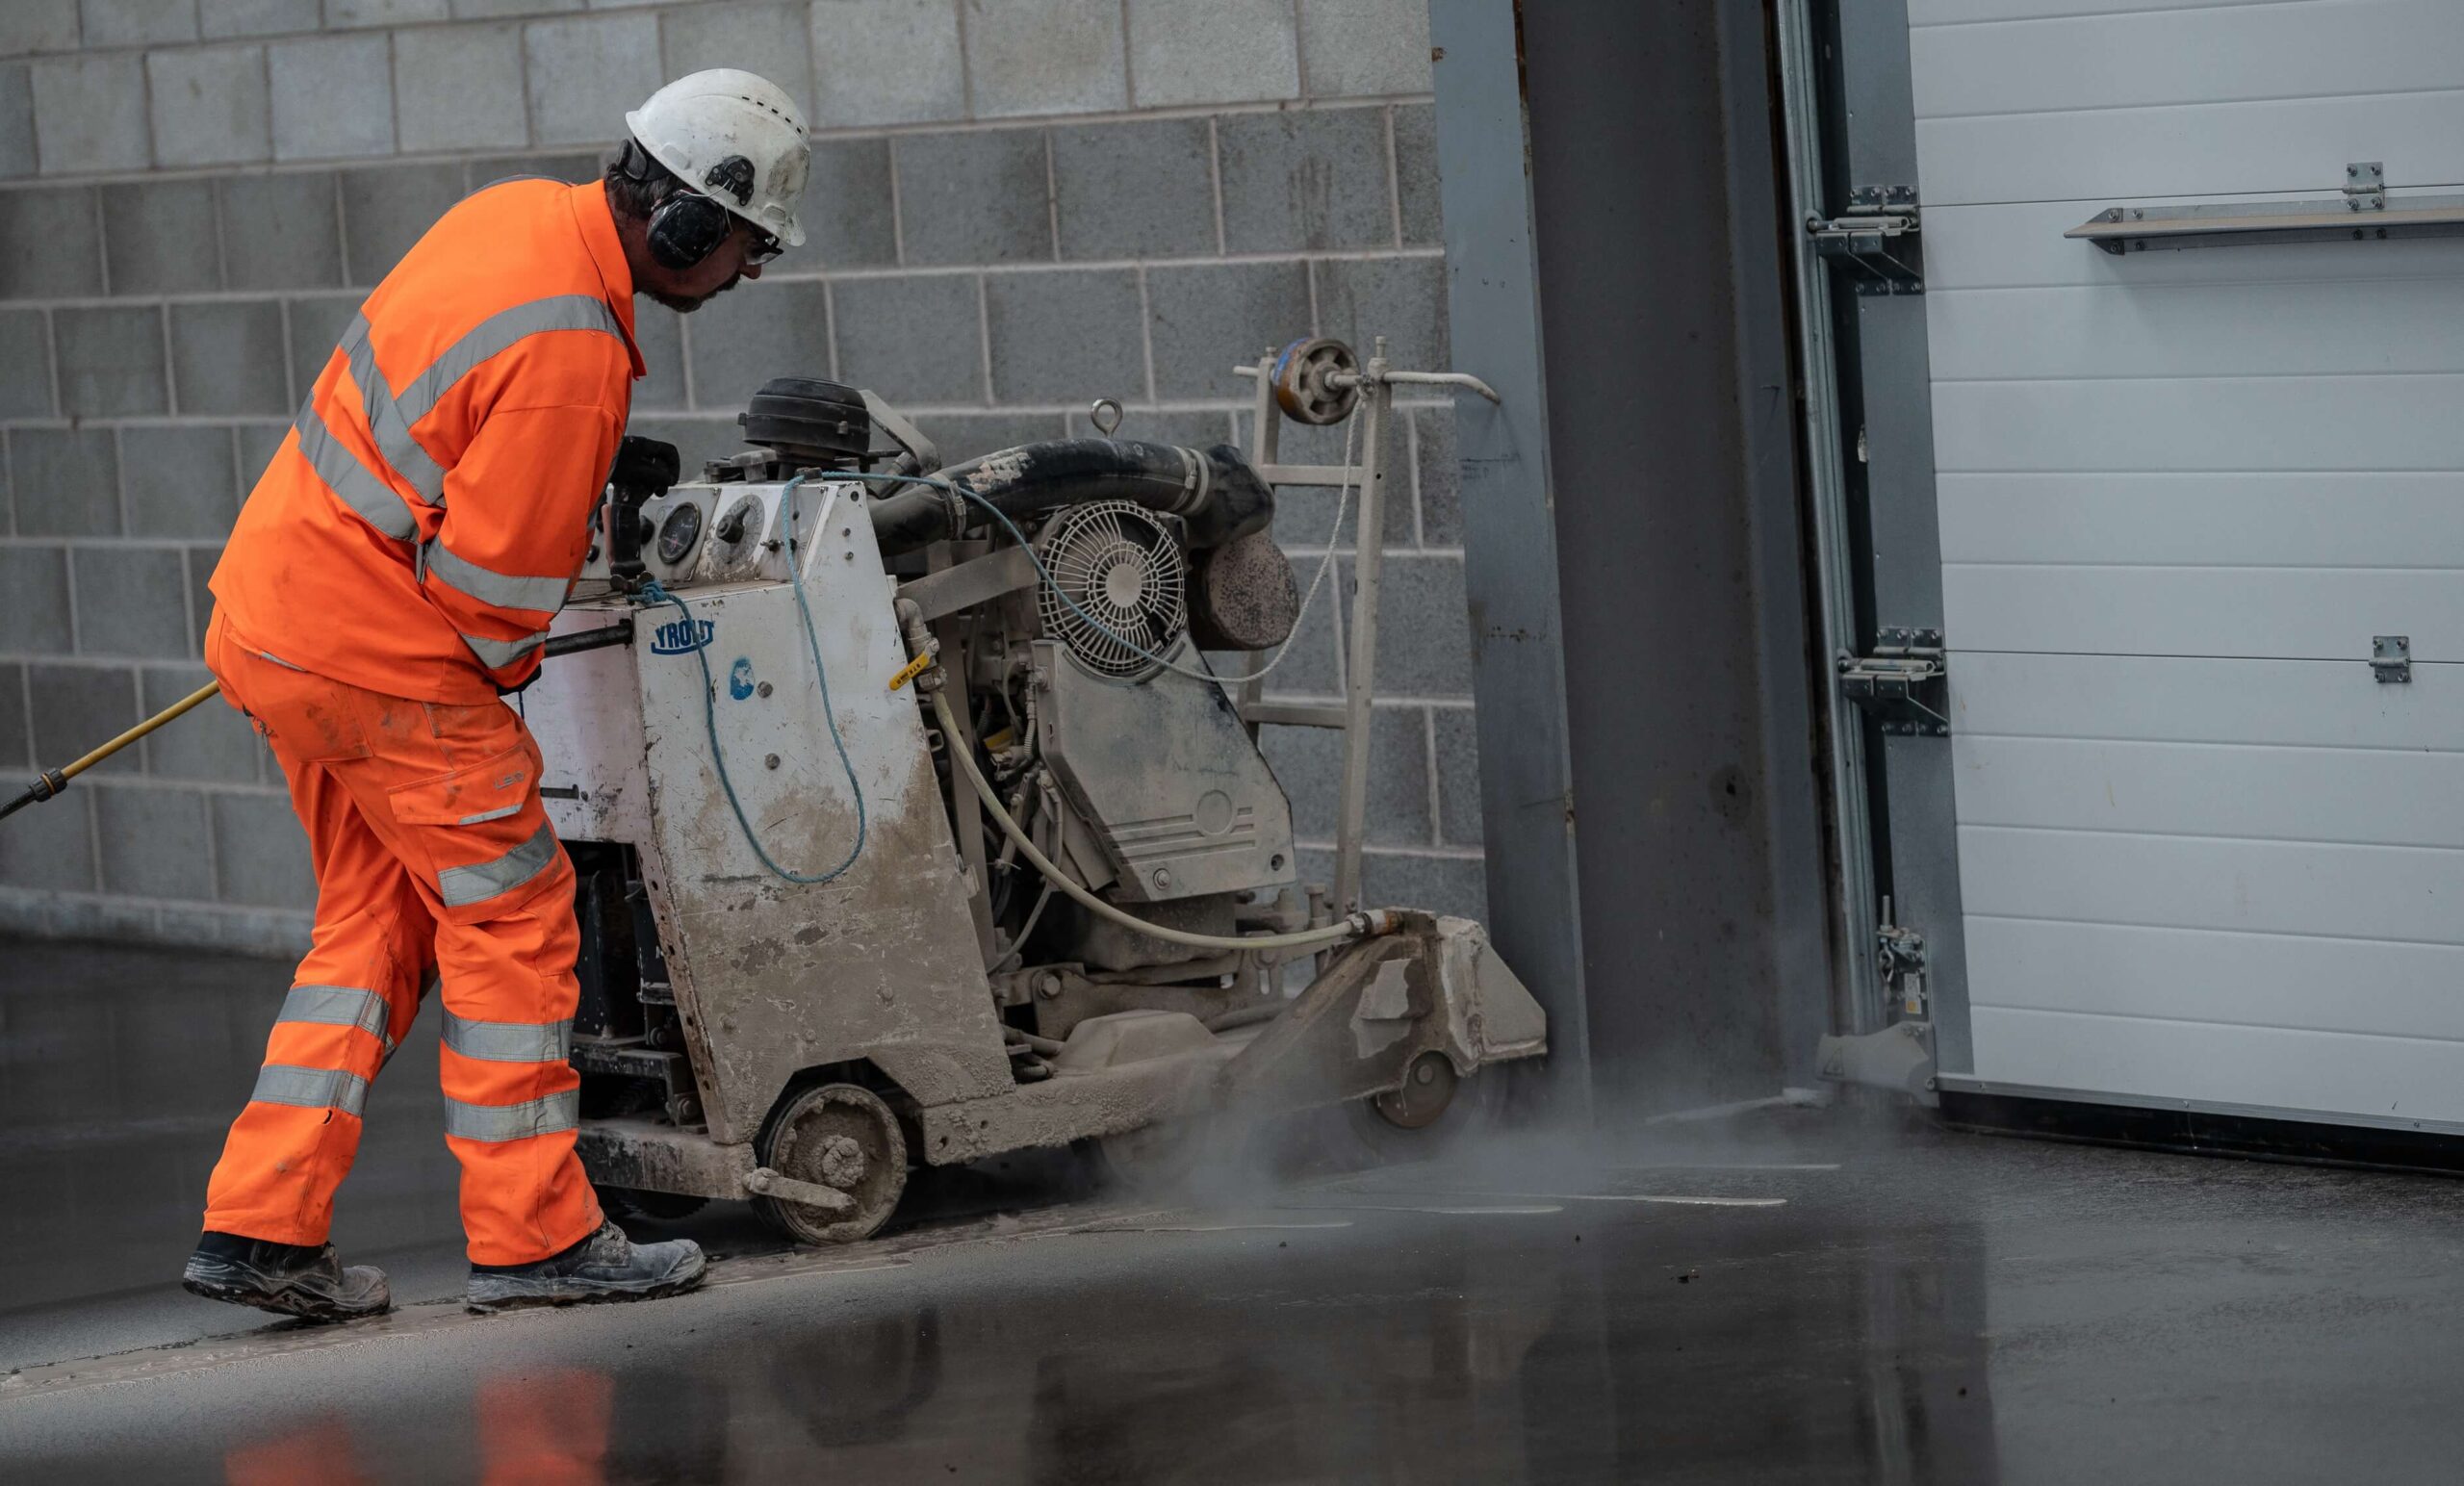
On modern industrial floors, contraction joints are formed by concrete saw cutting rather than by tooling a groove into wet concrete. A saw produces a clean, straight, consistent line of weakness at exactly the planned position, which gives far more reliable crack control than hand-formed joints. The catch is that saw cutting is entirely dependent on timing.
Cut too early, while the concrete is still green, and the blade tears and ravels the edges of the joint. Cut too late, and the floor has already begun to crack on its own, defeating the purpose of the joint. The usable window is often only a matter of hours, commonly from around 6 to 18 hours after placement depending on the mix and the weather, which is why an experienced crew watching the concrete makes the difference between clean joints and random cracking.
Depth matters just as much as timing. A contraction joint generally needs to be cut to between one quarter and one third of the floor depth to create a plane of weakness the crack will reliably follow. Cut too shallow, and the crack wanders below the joint and surfaces elsewhere. Early-entry sawing systems allow cutting sooner with less ravelling, widening the window on large pours where the whole floor cannot be cut at once.
Joints are part of the wider floor programme
Joint design does not sit on its own. It connects to nearly every other decision made about a floor, and works best when those decisions are coordinated from the start rather than resolved in isolation.
Reinforcement and joints are designed together: the amount and type of steel fixing, or the use of steel fibre, determines how wide joints can be spaced and how tightly any cracks are held. Curing feeds directly into joint performance too, because a floor that dries unevenly shrinks unpredictably and can crack before the planned joints take effect, as covered in our guide to curing concrete floors in warm weather. And the strength the concrete actually achieves, confirmed through concrete cube testing, underpins how the whole floor, joints included, will hold up in service. The same thinking applies whether the pour is internal concrete flooring inside a warehouse or unit, or external concrete flooring such as a yard or hardstanding exposed to wider swings in temperature.
Frequently asked questions
Book a saw cutting assessment
Good joints start with a plan and end with precise, well-timed cutting. If you are specifying a new floor or dealing with cracking on an existing one, our team can review your floor, joint layout and programme, then carry out the concrete saw cutting at the right moment.